

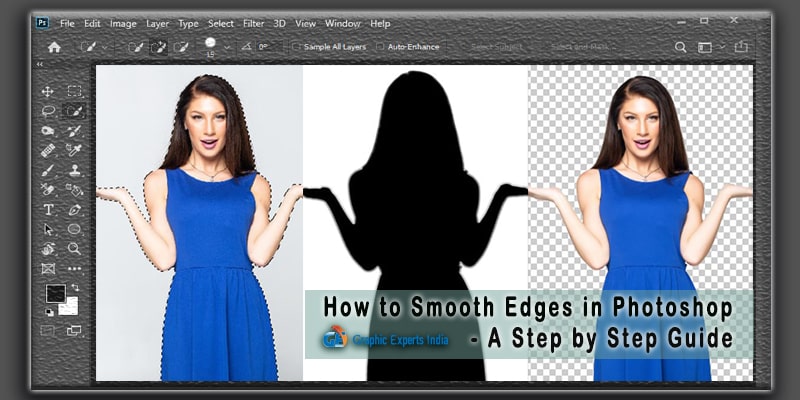
How To Remove Edges In Photoshop
Smooth Edges Photoshop plays a vital role in Photoshop editing services. You will meet a dramatic modify in the image afterward smoothing edges. By the way, if you are looking for how to smooth edges in Photoshop?
I volition share a complete guideline to get a sharp & smooth border in any complex groundwork. The smoothen edge is an integral part of making blended photos, product images, or magazine photos. I will also share clandestine tips to avoid jagged edges.
Groundwork Removing is an essential technique that needs to remove distracting groundwork unwanted objects. Besides, it makes the image highly-seasoned. At that place are lots of different techniques to cutting out images using Photoshop CC 2022 Tools & Toolbar. Depending on the background complexity, you lot need to apply different techniques.
Unfortunately, a single method is unable to give the all-time functioning. And so, apply a 2-3 technique at a time to make the choice efficient. While cutting images, you must face problems with edges. Moreover, cut-out images contain ragged edges in limbs or hair or legs area.
While you lot cut out images from the background, it is highly essential to make the cutting edges smooth. But unprofessional clipping services cut your important outer edges inaccurately. Thus, your subject contains jagged edges that tin distract the audience.
When you set up all the rough & jagged edges from a cutout & low-quality image chosen smooth edges. Soften the middle pixel between the edge & background. Equally a result, you volition get a smooth edge.
In this digital age, E-commerce businesses, digital photography, advertisements, and magazines all depend on the web. They need a high-quality production photograph or portrait image without whatsoever jagged edges. Hither the perfect epitome is the central to their business success. In this competitive business organisation field, it is impossible to win the race with low-quality images.
When you capture photos with a low-quality camera, it can result in a crude edge. Moreover, while y'all cut out the distracting background to make the prototype appealing, it can also make jagged edges. Unfortunately, rough edges give you lot low-quality photos.
Then, refine the imperfect edges to brand it polish & appealing. It is highly essential for the betterment of your business organisation. Covid -nineteen pandemic makes the online marketplace more competitive. You can't skip edges if you want to reach your goal.
Photoshop is the all-time software among all other tools to gear up rough edges. Information technology allows flexibility, depth controlling & proper option to brand the edge shine also as smooth skin.
Hither we use the beneath tools to do shine edges on photoshop.
- Refine Edge castor
- Burn Tool
- Contrivance tool
- Gaussian Blur
- Level
Why Smooth Edges are Essential
Photoshop is the leading photo editing tool. This giant software comes with magical retouching tools to brand your digital photograph attractive. It allows dozens of features to solve your paradigm problems.
Moreover, while you do cut out images or capture photos with low-quality cameras that produce jagged edges. Hence, your image looks ugly & the photo becomes a wastage. Photoshop allows you to smooth jagged edges & makes your photo appealing. Nevertheless, it will make your image more natural & appealing.
How to Become Smooth Edges Photoshop
To make your cutout perfect, I bring an constructive channel pull technique with dodging & burning & border Refining. We will use a powerful contrivance & burn process to create a mask. You will be glad to know that this channel pull technique will be applicable for all Photoshop.
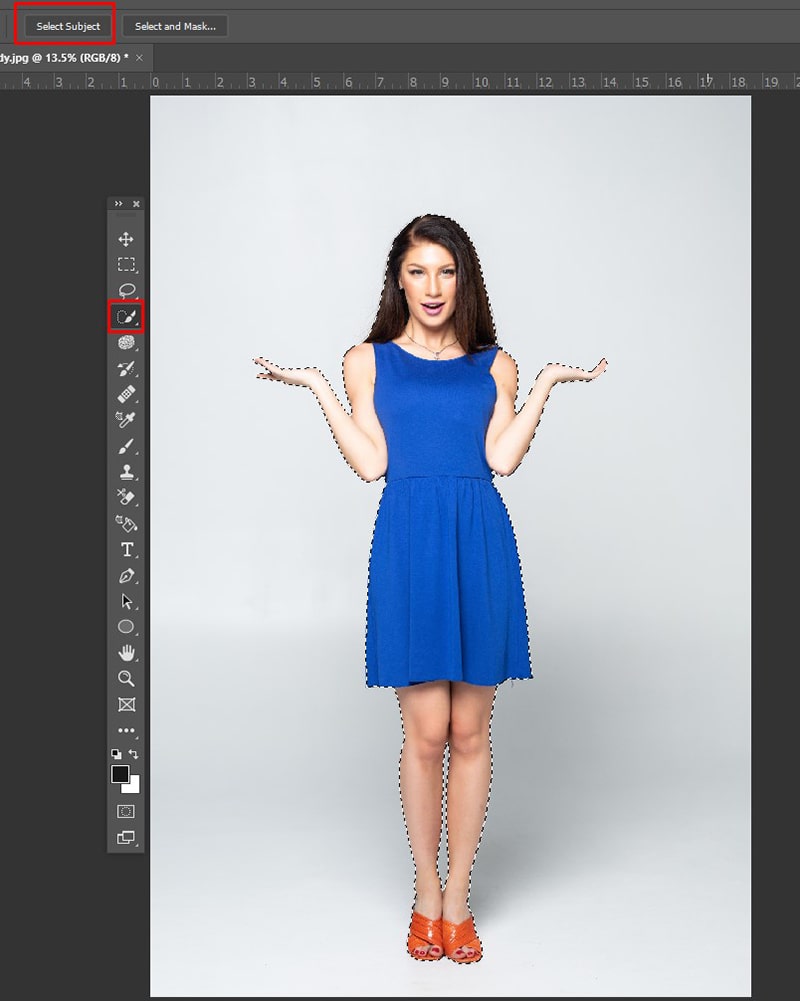
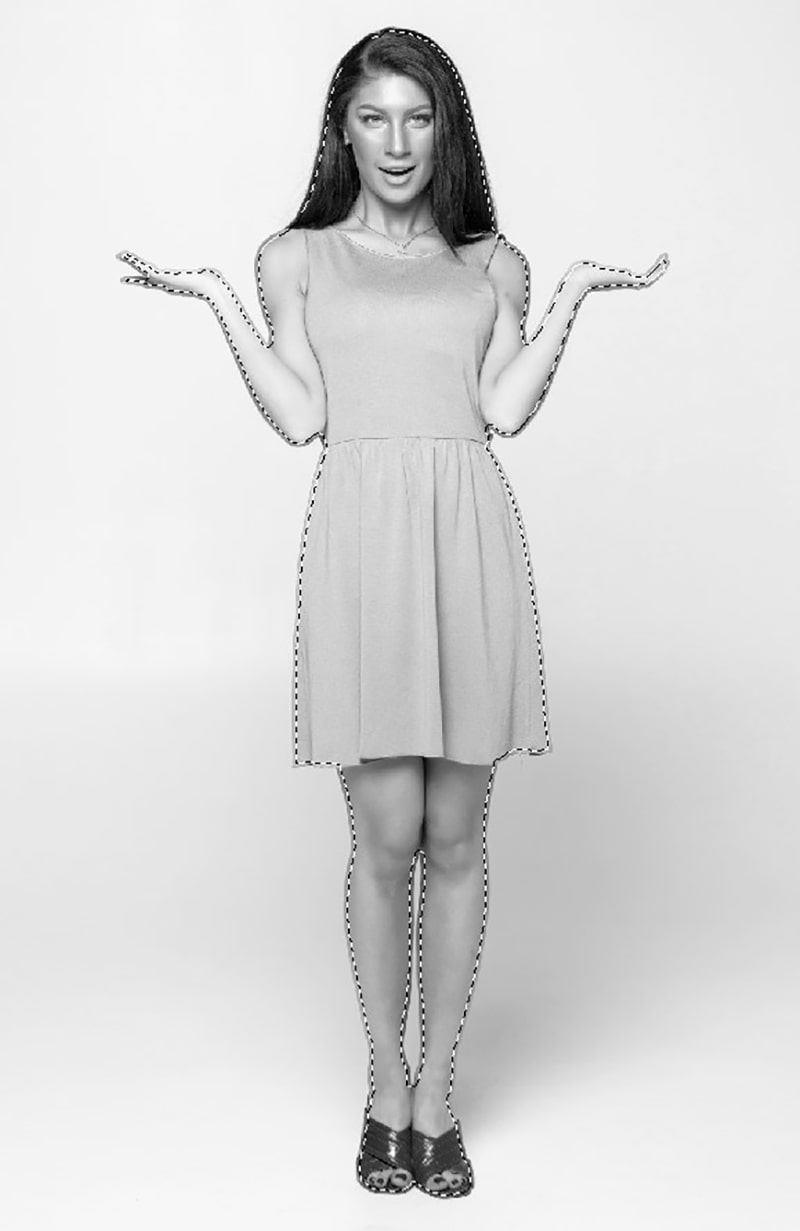
Make Option
Firstly, select the subject field from the paradigm. From the left toolbar, choose the Quick Selection tool & select the subject.
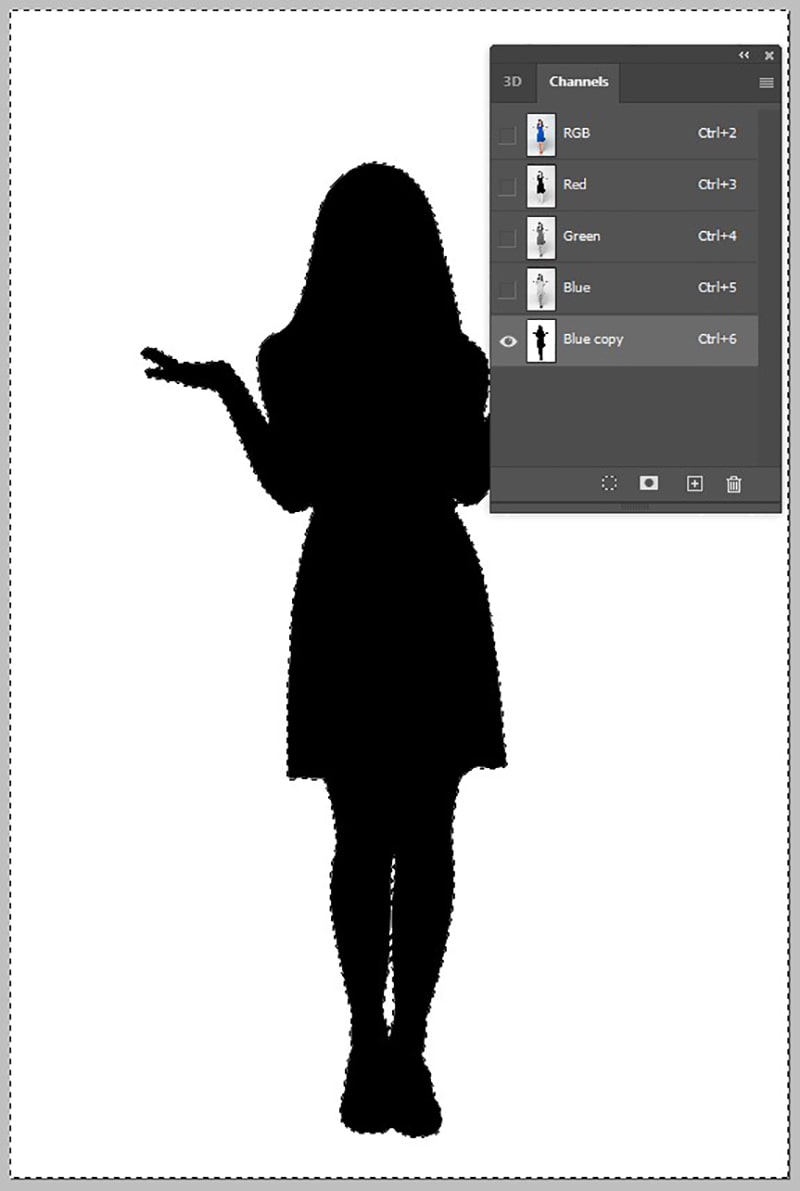
Select Channels Panel
Now wait at the bottom right side & click on the channel. And then you volition find a new window that shows the color contrasting per centum of your images.
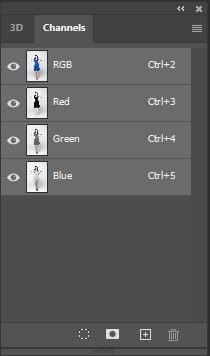
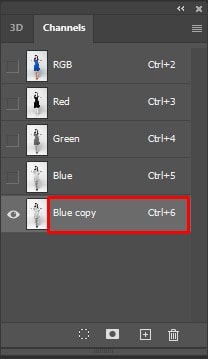
At present select the channel that contains the most contrast color. For our sample images, it is blue & we cull the blue channel.
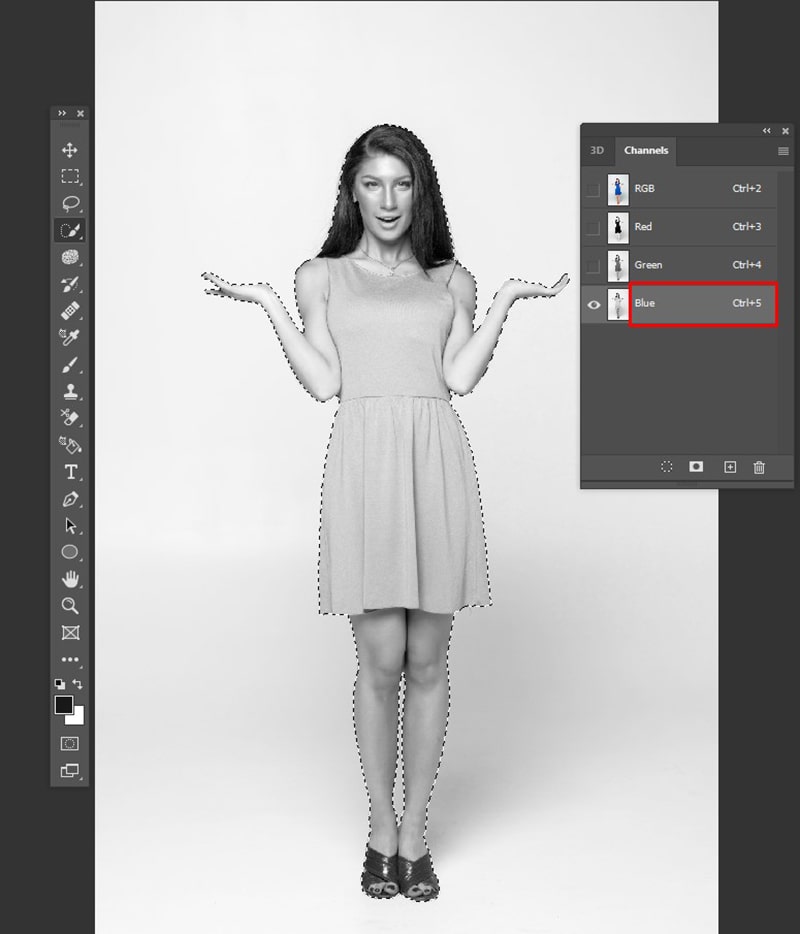
Create a new Channel
Now keep the mouse pointer on the Blue aqueduct & drag it to the new aqueduct icon from the bottom of the photoshop. It displays a "+" icon. It helps to make a new copy channel to develop our tricks.
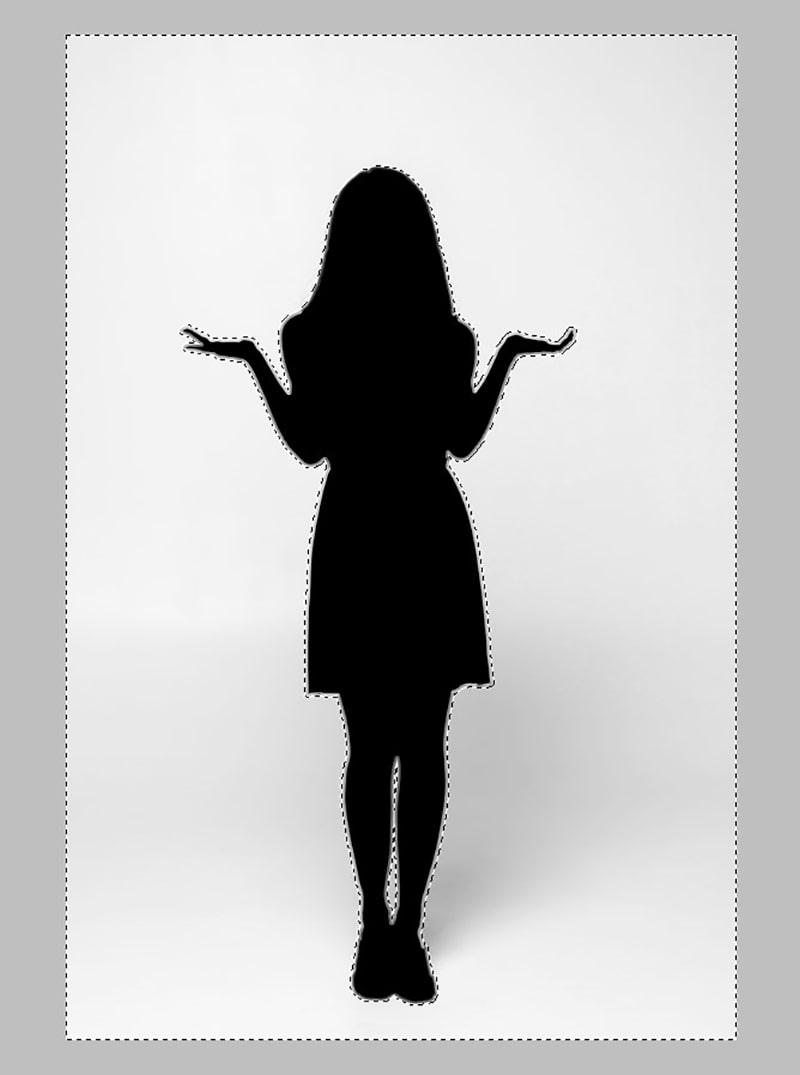
Contract Pick
So From the superlative Options bar, Click on Select-Modify- Contract, then enter 12-16pixels.
Finally, click on, Ok.
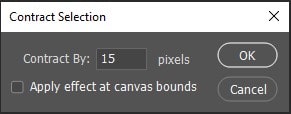
As a issue, your selection volition bump inside the photo.
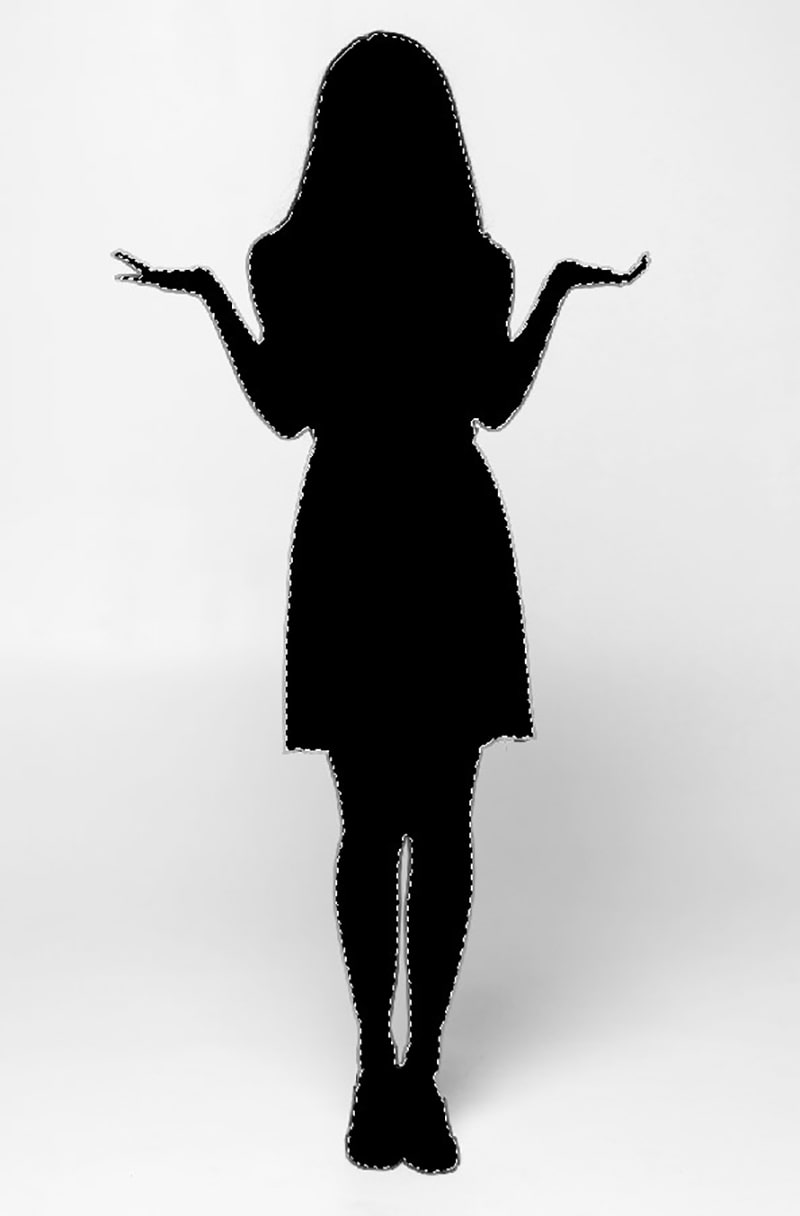
Make full Selection
Choose black colors to fill the option. From the Toolbar, you can directly select the Foreground color or to do a quick selection you can enter D to change the color. For filling the foreground color enter Alt/Option Delete.
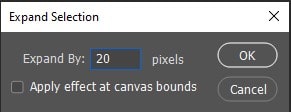
Expand Option
From the option bar, click on Select-Alter- set expand by 20-35pixel based on your image resolution.
Inverse Selection
Now it's time to reverse the selection. It's a uncomplicated task. Just follow the command below.
- Enter Cmd/Ctrl+ Shift+I
Are y'all surprised to see the amazing inverse selection? It helps to make your cutout epitome more than accurate.
Replace Fill Color
Alter the make full color to white. Simply press Ctrl/Cmd + Delete. It will change the foreground color.
Then deselect the inverse choice. Follow the command below.
- Ctrl/Cmd+ D
See the below results, how information technology works.

Now y'all are done with the cutout but zoom in on the photo & crucially lookout the edges. All the same, it contains a thin edge that needs to be stock-still.

Follow the approach to brand it sharp & smooth.
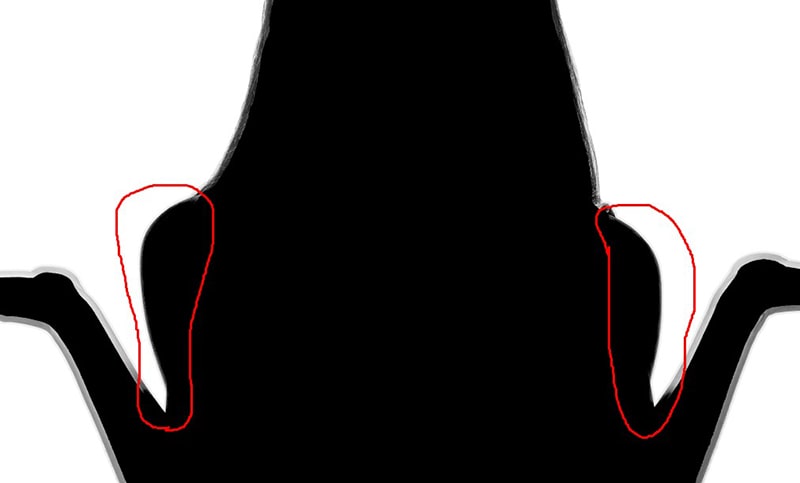
How to Detect Edges
To make polish edges, at first, discover the rugged edges. If your picture contains undulations & hair or fur edge, including lights from the background, then you can apply edge detection to find out the rough edge.
In your Border Detection window, you lot volition find the Radius slider & Smart Radius checkbox. To control your output, initially, you should fix a low value. And then gradually heighten it. Also, you should go on the smart Radius unchecked.
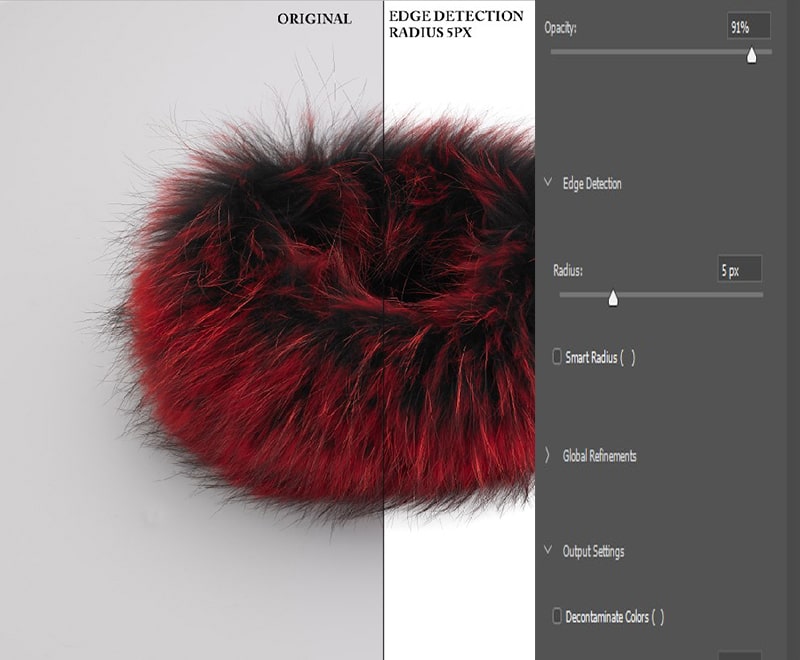
If you are not satisfied with the detection results, and so you need to increase the Radius pixel. Once more check the work edges, whether it can detect all the triggered edges. In the case of pilus, I guess a 5-pixel can give perfect edge detection. So, based on your image complexity, this value can vary.
Use Refine Edges Brush Tool
In example your epitome contains hair or fur, this type of edge is challenging to brand smooth. I use a different technique, merely none can satisfy me with the result. After doing the various experiments, I find Refined Edge Brush is a useful tool to smooth the intricate hairy edges.
This tool will magically smooth any flyaway hair, fur, or fix fuzzy hair edges. From the left toolbar, click on castor & select the 2d Refine border castor.

Y'all already marking the disquisitional or rough edges. Zoom in the photo to get a ameliorate view of your rough border. You can change the refine brush tool size by pressing an open or close subclass. It is better to start with a pocket-size size brush.
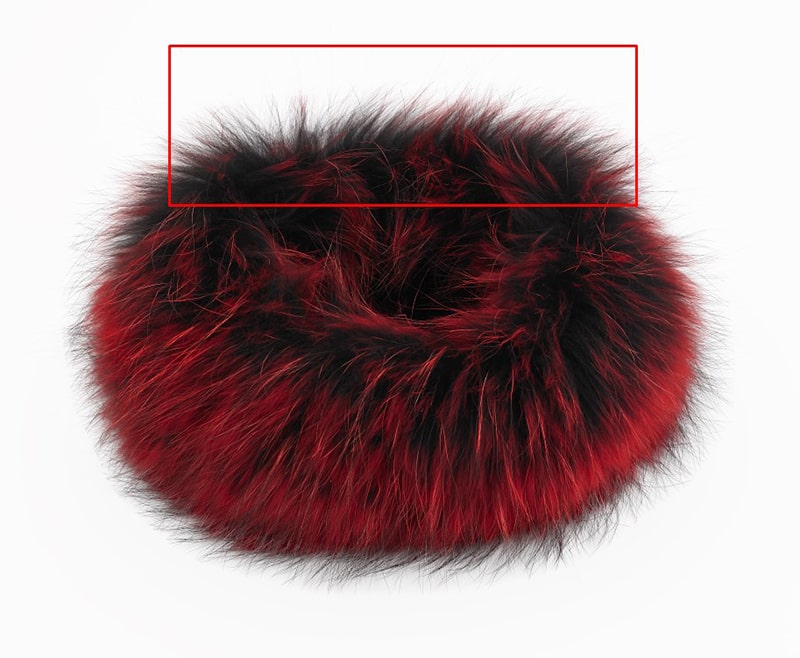
Now have the mouse pointer over the fur edges. And so begin painting with your mouse on a picayune hair area. Information technology will make that hair area smoother within a moment.
Gradually move the mouse arrow & drag it on the rough border to ready it. It will change the whole craggy, sloppy, or rough edges to new smooth, clear & abrupt edges. The perfection of the hair edges must impress you.
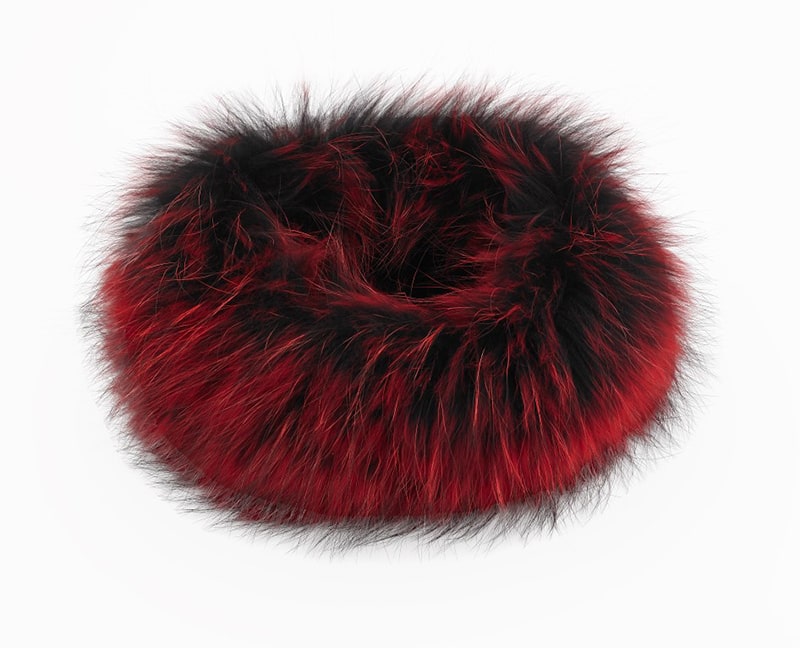
Meet the below images where nosotros use refine brush border. Even you can examine it with a 400% zoom-in mode. But you won't find any extra low-cal or craggy hair.
This technique gives the best result in the case of pilus, fur, or other complex issues that be in the subject field. I am sure you won't get this type of perfect smooth edges in whatever other method.
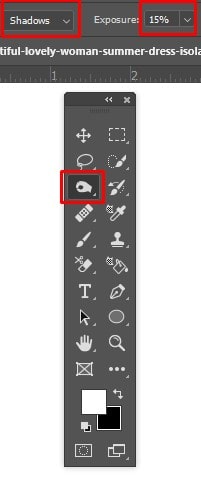
Use the Burn Tool
From the left toolbar, select Fire Tool & bank check the top Options bar. Modify the Range drib-downward to Shadows & Exposure to xv%.
Press Alt & zoom in on the photograph to view the rough edges conspicuously. So start painting with your mouse over the jagged edge. Then notice the changes it makes. It smooths the edges amazingly. Yous just lookout the below images to feel the differences.
Use Dodge Tool
After smoother with the fire tool, apply Dodging.
From the toolbar now choose Burn Tool. Zoom in the images. At present discover out the dark edge. Then alter it to highlights & drag over that edge to lighten it. You demand to do painting gradually with the burn tool to make the edges softer & natural.

While you are fixing hair edges, you tin employ both Burn & Dodge tools to get the best output.
Suppose you are not happy even so with the edges & desire to brand it more smooth. Then follow the beneath two techniques. Only if you take already fixed your edge issues, and then you can skip it.
Apply Gaussian Blur
You can also apply the Gaussian mistiness to set jagged edges. Follow the command.
- Cull Filter- Blur- Gaussian blur.
Information technology volition smooth your jagged edges inside a moment. If your image contains a more bumpy edge, then select a high blur radius. You tin change the radius slider to increase or decrease it. Check the visual display to select the right radius to get the best improvements.
Use Level
Level adjustments are an effective method to convert your rough edges into smooth ones. Follow the command below to make the level adjustments.
- Choose Epitome- Adjustments – Levels.
Now y'all can see a new window that displays three sliding arrows. Hither the right arrow volition assistance yous brand your image white, the left one volition make the image thin & the heart arrow helps generate a combination of both.
Yous tin can as well bank check the output in the visual display. Gradually slide the pointer & check the edges to decide the ideal level to get a shine edge.
Lead Selection
Now it's time to lead the selection. Follow the below command.
- Press Cmd/Ctrl + Click on the Channel. Thus, it will select the white areas on the images.
Now from the channel panel, select RGB. As a result, you will become the primary channel back.

Masking
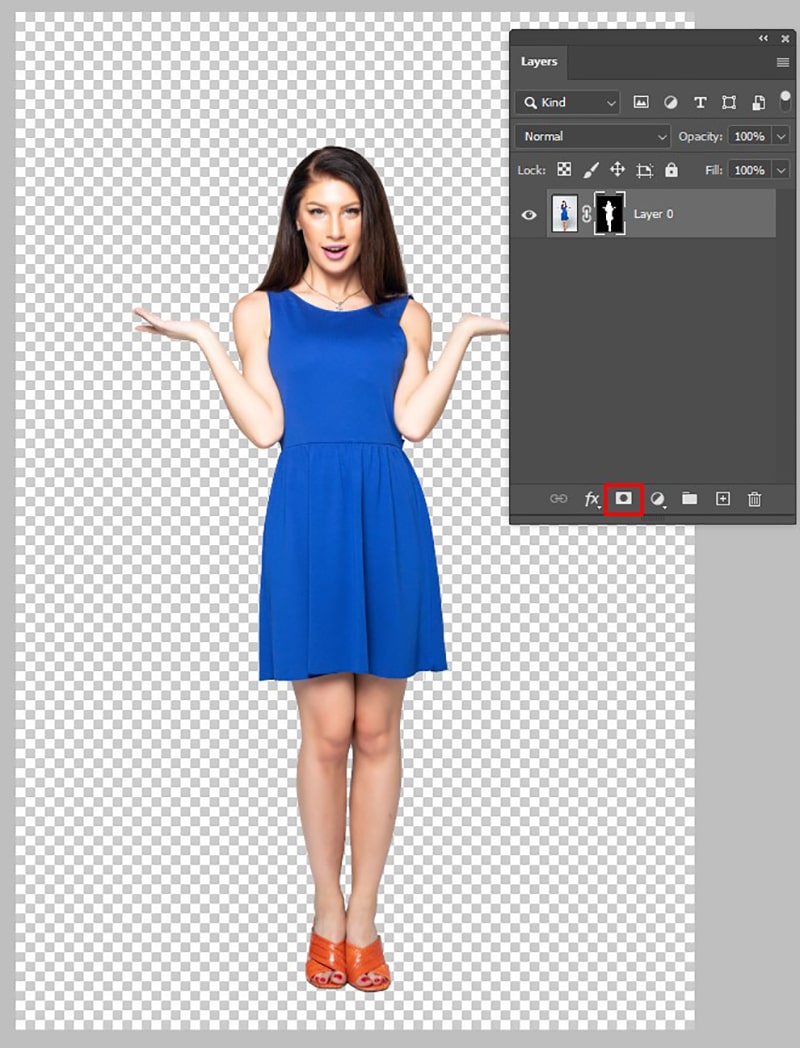
Now yous need to do masking. Follow the below command to create a new layer mask.
- Hold Downwards Alt/Option & printing on the new layer mask button from the right bottom side.
See the below images. You lot are making clean & nice cutout images with smooth edges Photoshop.
FAQs on Smooth Edges Photoshop
Is there a smooth tool in photoshop?
Photoshop is the leading tool to do photo editing. It has multiple smooth tools to fix your rugged edge. Information technology is handy & flexible to brand shine edges accurately.
Y'all can utilise a smoothen castor tool, burn tool, dodge tool, Gaussian blur, etc. Yous tin can utilize 2-3 tools combined to generate the best result.
How do I polish the edges of text in Photoshop?
Generally, low-resolution images face text fuzziness. Follow the below steps to smooth the text edges.
# First, click on your Text & press Ctrl+ T. And, y'all will get a Character brandish pop-upwards.
# In this window, you volition find anti-aliasing options to make the edges smooth. From the drop-downward, select the shine edge selection.
How exercise y'all fade edges in photoshop?
It is unproblematic to fade edges using photoshop. You can follow the following steps.
one. Employ any preferable choice method to make a selection near your desired edge.
2. Now from the summit options bar, click Select- Alter-Feather.
3. Now yous will become a new window & identify 25 in the Plumage Radius field & then select Ok.
4. Then select Image- Adjustments – Curves. Select the center bespeak of the curve & adhere the anchor point. Then move it to fade your edges.
What is the best tool to practice polish edges?
Adobe Photoshop is the best tool to make smooth edges. Because it allows depth controlling & hand-drawn path, that helps to fix crude edge accurately. Moreover, the various handy smooth tools brand the task uncomplicated to fix rough edges & make the image appealing.
Who needs smooth edges?
Shine edges are an urgent demand for the online marketer. Simultaneously in this digital age, maximum people need a polish edge to grow their business. Photographers, due east-commerce owners, advertisers, magazines, celebrities are robustly required a smoothen border. It helps them to attract their target audience. Soft edge makes center-grabbing images that can help you to attain traffic on your sites.
Terminal Verdict on Smooth Edges Photoshop
I hope this article will solve your selection struggle. Now you will easily brand shine edges on Photoshop. Follow all the steps to get a sharp border without a jaggier & ragged edge.
Making smooth edges & cutting out images with perfection is fourth dimension-consuming work. That needs dedication & attending. If you take no fourth dimension, information technology'south improve to take an image masking or clipping path adept aid.
If your cutting-out paradigm contains rugged edges, that can brand a bad impression on viewers & clients. So, it'southward essential to smooth the edge to concenter the audition.
You may read:

How To Remove Edges In Photoshop,
Source: https://graphicexpertsindia.com/smooth-edges-photoshop/
Posted by: williamsexal1939.blogspot.com
0 Response to "How To Remove Edges In Photoshop"
Post a Comment